This website is using cookies.
We use them to give you the best experience. If you continue using our website, we'll assume that you are happy to receive all cookies on this website.
Read more

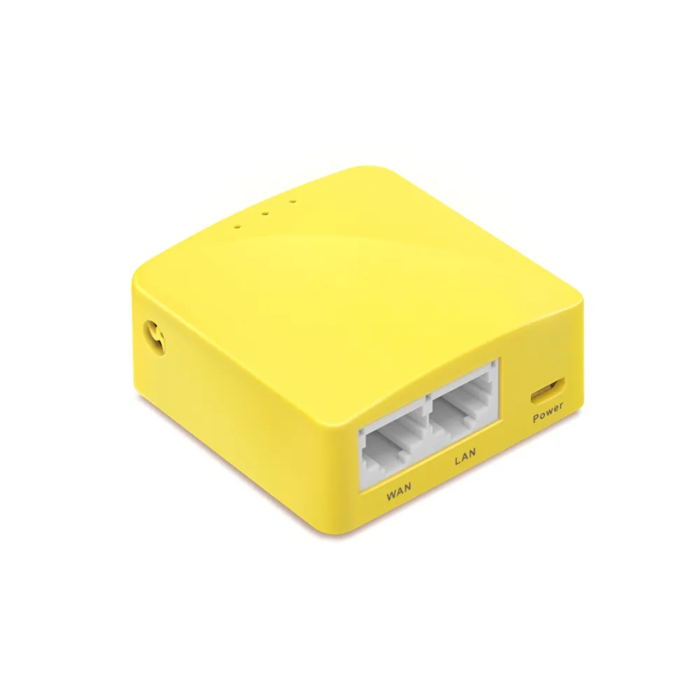
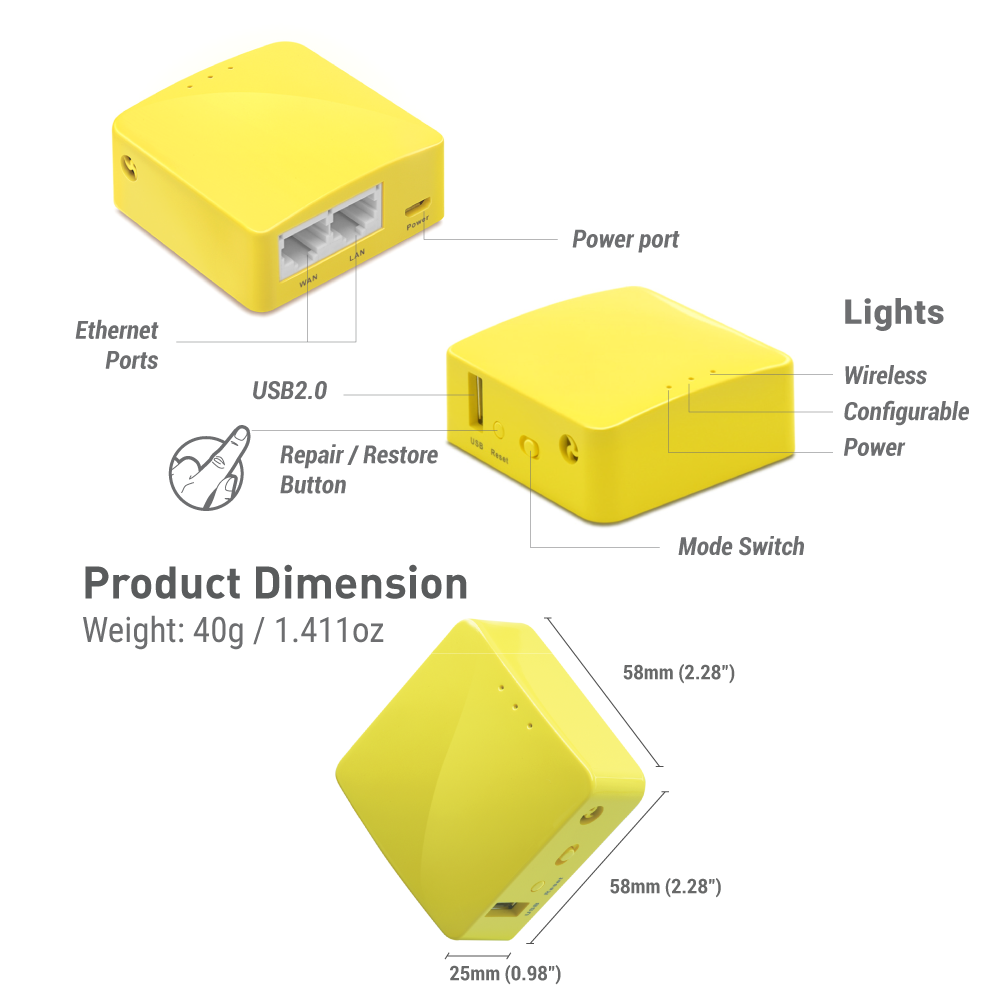
The Mini Travel Router is a small compact and portable device that easily fits in your pocket. It boasts high-performance download speeds of up to 300Mbps, making it an efficient and reliable device for on-the-go connectivity.
• Offers large storage and memory of 128MB RAM, 16MB Flash ROM
• The mini Travel Router lightweight and ready to go anywhere you travel
• USB Port Tethering 3G/4G modem compatible
• Gives you secure Internet when you connect to public wifi
• Operates on low power consumption, making it energy-efficient
• The router supports 802.11b/g/n Wi-Fi standards with two external antennas for extended coverage.
• The Mini Travel Router is designed to support high-performance download speeds, reaching up to 300Mbps.
• Includes Free Data SIM Card with £20 Credit.
Our Worldwide Delivery Charges are as follows:
Orders above $135.00 are eligible for Free Shipping.
Orders above $135.00 are eligible for Free Shipping.
Orders above $135.00 are eligible for Free Shipping.
Orders above $135.00 are eligible for Free Shipping.
Pack the Device
Pack the Mini Travel router in your travel bag. Its compact size makes it easy to carry.
Power Up:
Upon arriving at your destination, power up the Mini Travel Router. It can be powered through a USB connection, which is convenient as you can use your laptop or a power bank if an electrical outlet isn't immediately available.
Connect to an Internet Source:
The router needs an internet source to broadcast Wi-Fi. This can be a wired Ethernet connection or an existing Wi-Fi network in your hotel room. Sometimes, you can insert a WorldSIM data SIM card if the router is configured.
Access the Router's Web Panel
Once powered and connected to the internet, access the router's web panel by entering the IP address provided in the manual (usually something like 192.168.8.1) in a web browser. The first time you access this panel, you should set up a username and password.
Configure Wi-Fi Settings:
In the web panel, you can configure your Wi-Fi network settings. This includes setting up a new Wi-Fi network name (SSID) and password, which is crucial for security.
Connect Your Devices
Now, you can connect your devices, such as smartphones, tablets, and laptops, to the newly created Wi-Fi network. Select your device's network name and enter the password you set.
Enjoy Secure Internet Access:
With everything set up, you can now enjoy secure and fast Internet access. The router supports VPN services, so you can also configure a VPN for enhanced security, which is especially important when using public Wi-Fi networks.
Monitor and Manage Your Connection:
You can return to the router's web panel anytime to check your internet connection, change settings, or set up additional features like guest networks or parental controls.
Disconnect and Pack When Leaving
Once you're ready to move on, simply disconnect the router, pack it up, and you're prepared for your next destination.

Get a free worldwide data SIM so you can stay connected worldwide for less.

The Data roaming SIM card which is included with this router comes with free credit so you can start using it immediately, if you purchase this product with more credit you will get better value for money. Credit will expire only if the SIM is not used for a year.
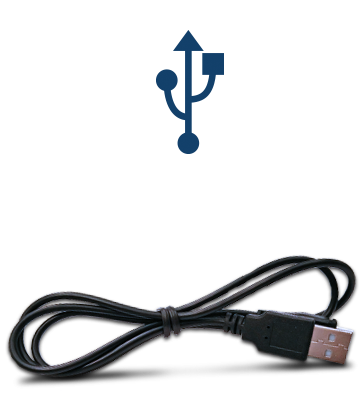
Keep your Mini Travel Router charged with the included USB cable. Simply plug into a power source like a laptop on a phone plug.
Converting a public network (wired/wireless) to a private Wi-Fi for secure surfing. Tethering, 3G/4G USB Modem Compatible.
If you are still using a wired network at hotels or cafes, this mini router is able to convert it to a wireless network for sharing the Wi-Fi with all your devices.
The Mini Travel Router is designed to be small and portable, making it convenient for travel or use in various locations.
The Mini Travel Router comes with 2 ports 1 x WAN, 1 x LAN
Web-based interface, mobile app support, and ease of configuration
Rest assured with your purchase as the Mini Travel Router comes with warranty for your peace of mind.
Great to use for your home, for small businesses or when you travel with friends and family.